Oct 09, 2026
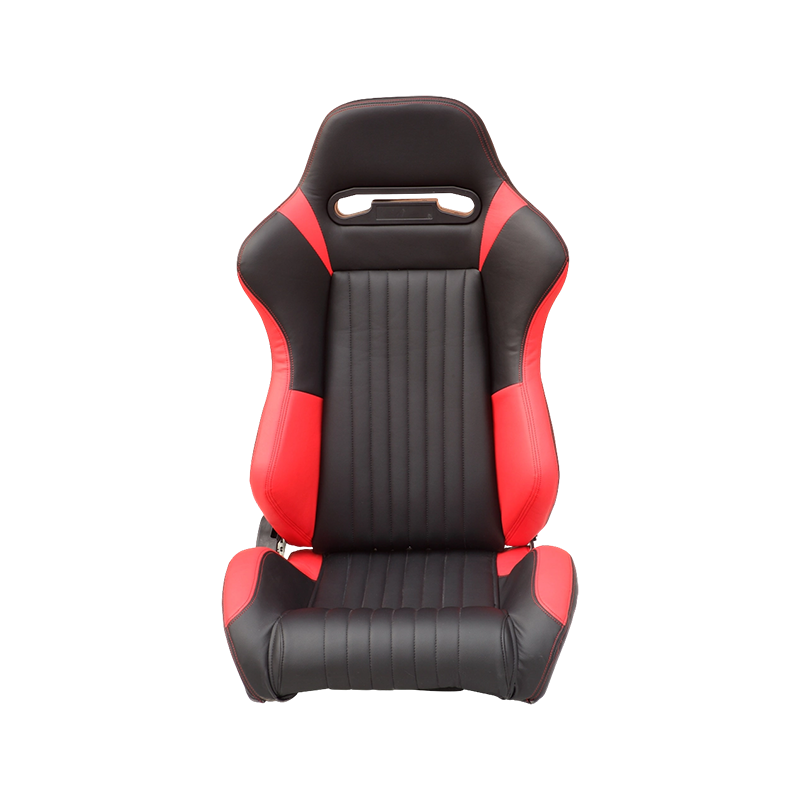
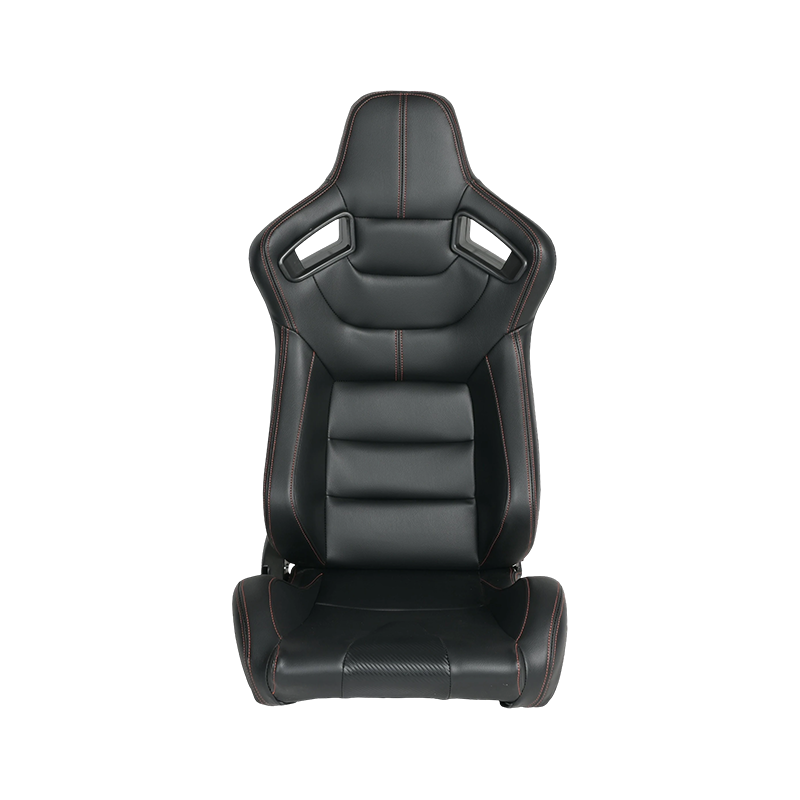
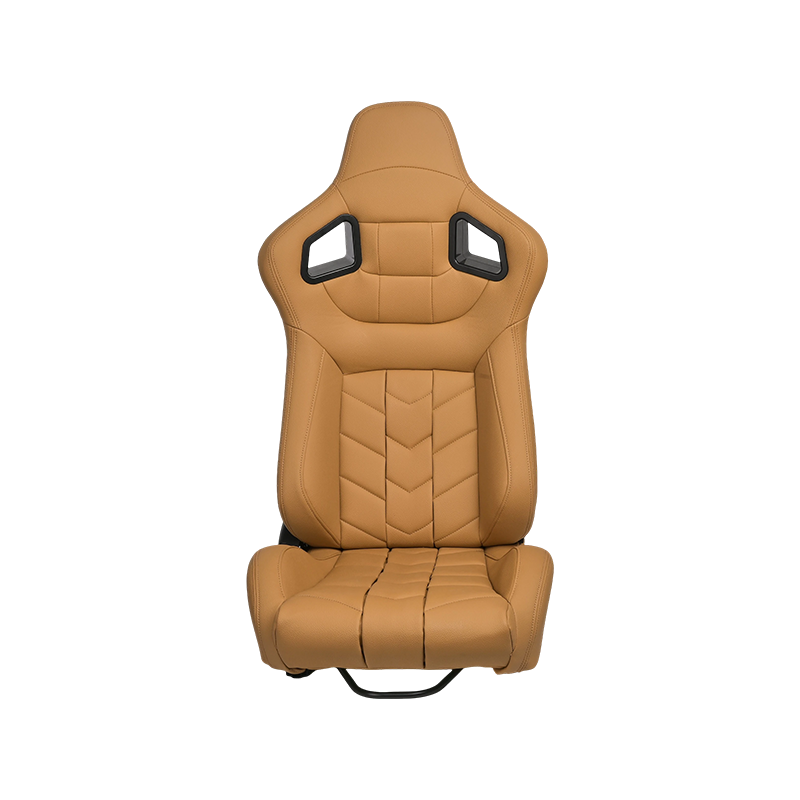
Building a custom racing simulator involves more than choosing a steering wheel, pedals, and display. The seat must fit the cockpit structure, support a comfortable driving position, and work with the mounting hardware already available. A seat that looks suitable in a product photo may still require additional brackets or structural adjustments before installation.
At JIABEIR, we develop and manufacture racing seats and racing simulator products for different applications and customer requirements. We understand that compatibility is an important consideration for sim racing enthusiasts, gaming equipment distributors, simulator builders, and OEM buyers. Before purchasing a racing seat for sim racing, we recommend checking the mounting dimensions, seat shape, adjustment range, and available cockpit space.
This guide explains the key measurements and technical details that help buyers determine whether a racing seat will fit a custom simulator rig.
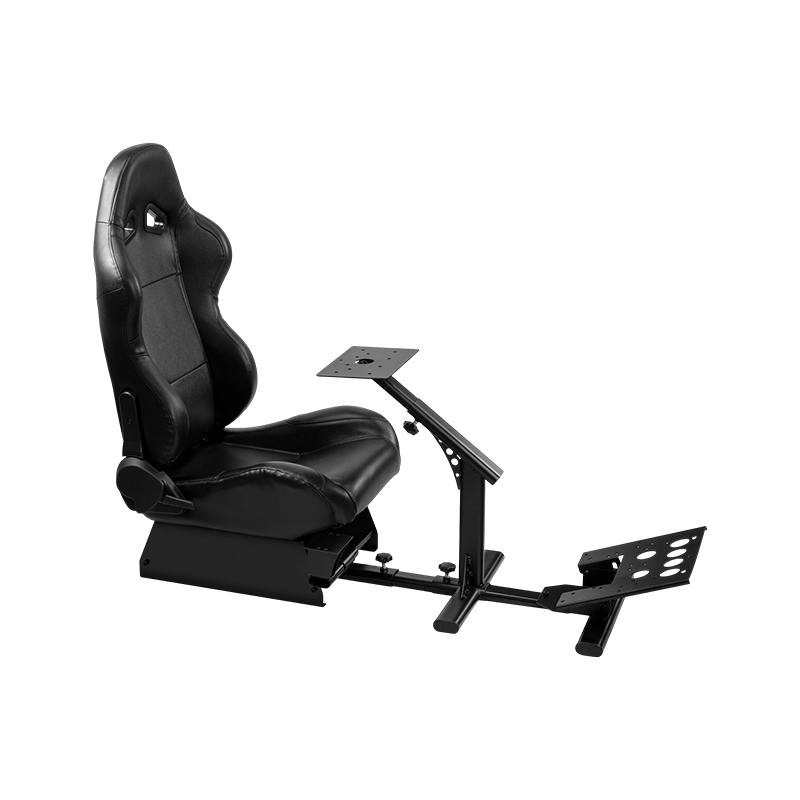
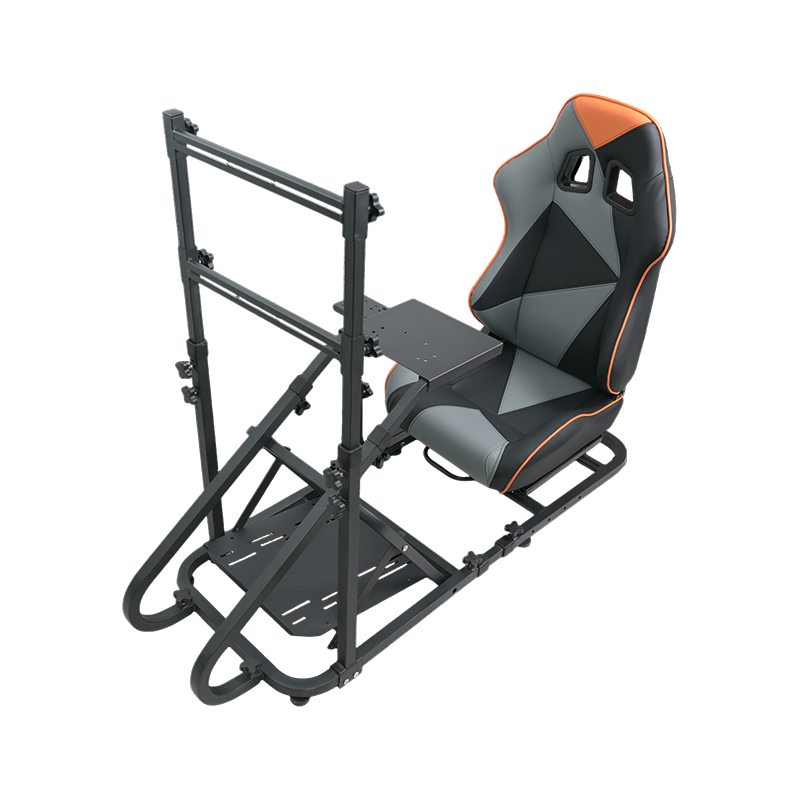
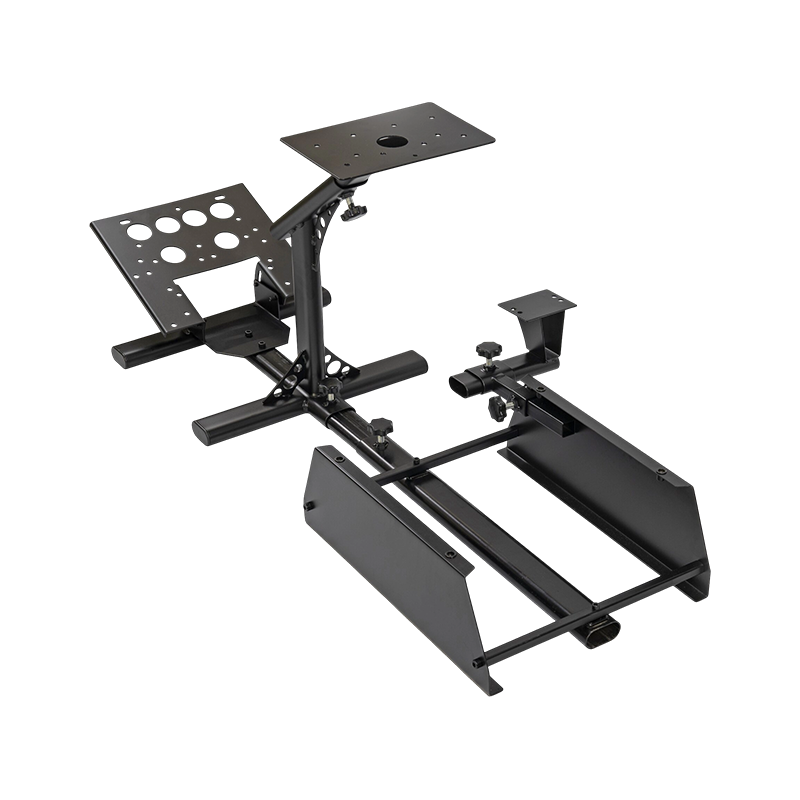
The cockpit frame determines how a seat can be installed. Different simulator systems use different frame designs, so visual similarity between two seats does not guarantee direct compatibility.
At JIABEIR, we encourage buyers to identify their cockpit frame type before confirming a seat configuration. This information helps clarify whether the existing mounting system can be retained or whether additional hardware may be required.
Seat width is an important measurement, but it is not the only dimension that determines fitment. A racing seat may fit inside the cockpit while its mounting points remain incompatible with the available brackets.
| Measurement | What to Check | Why It Matters |
| Overall seat width | External width at the widest section | Confirms clearance between the cockpit rails and nearby components. |
| Seat base width | Width of the lower seat section | Helps determine whether the seat can sit correctly on the support structure. |
| Mounting hole spacing | Distance between the relevant mounting holes | Determines whether the seat can connect to the brackets or base plate. |
| Mounting height | Vertical clearance between the seat and frame | Helps prevent interference with crossbars, sliders, and other hardware. |
| Seat depth | Distance from the front edge to the backrest area | Affects legroom, pedal reach, and the available cockpit footprint. |
| Backrest height | Height from the seat base to the top of the backrest | Helps confirm clearance around monitors, frames, and surrounding equipment. |
Important: There is no single mounting-hole pattern that fits every racing seat and simulator frame. Buyers should obtain the actual dimensional drawing for the intended seat and compare it with the cockpit specifications. A compatible bracket or adapter may be necessary when the two mounting layouts differ.
Racing seats use different mounting arrangements depending on their construction. Understanding these differences helps buyers avoid ordering incompatible brackets or unnecessary accessories.
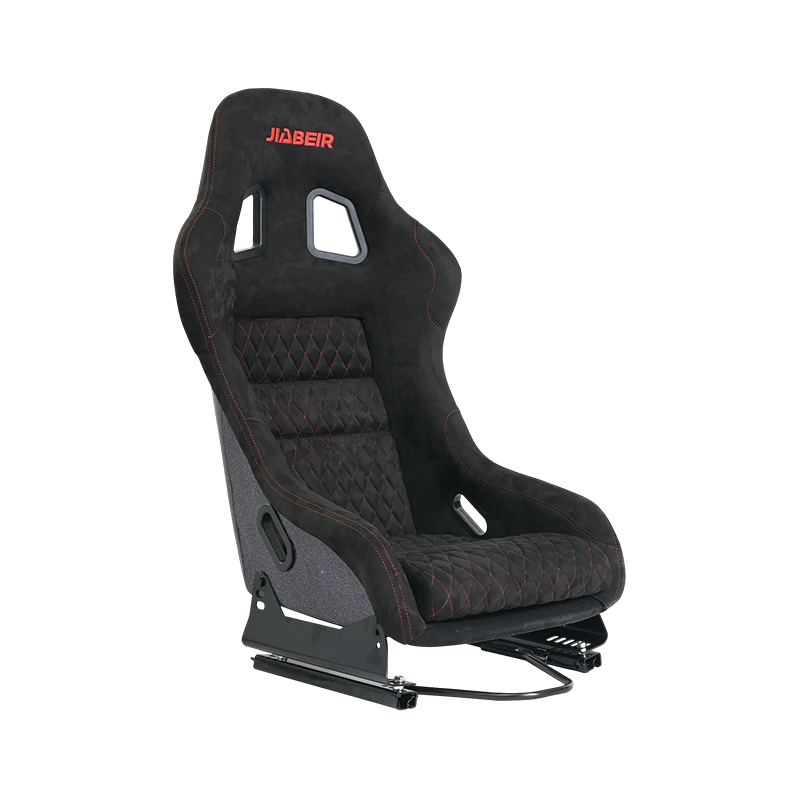
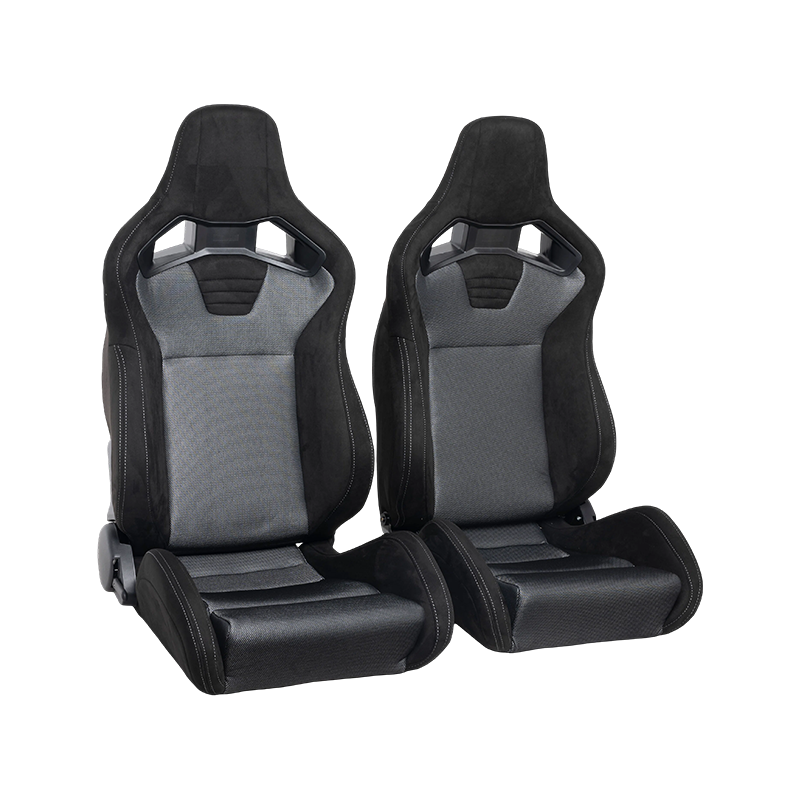
Fixed-back bucket seats commonly use side mounting. Brackets attach to mounting points on the sides of the seat and connect to the simulator frame or seat rails.
Some reclining seats use mounting points underneath the seat. These designs may require a base plate, compatible sliders, or a dedicated mounting bracket. The location of the mounting holes and the shape of the seat base determine which hardware can be used.
JIABEIR offers racing seat and simulator product options for different application requirements. Buyers can share their frame drawings and intended seat model with our team to discuss the appropriate mounting configuration before placing an order.
Mechanical compatibility does not automatically mean that a seat will provide a suitable driving position. The relationship between the seat, steering wheel, and pedals also deserves attention, especially for simulator rigs used by drivers with different body dimensions.
Seat sliders can add forward and backward adjustment for shared simulator environments. However, the slider itself also occupies space and introduces another mounting interface. Buyers should therefore check the combined dimensions of the seat, brackets, sliders, and cockpit rather than measuring each component in isolation.
A structured specification comparison helps distributors and simulator builders evaluate different seat configurations. JIABEIR recommends collecting the following information from the seat supplier and cockpit manufacturer.
| Specification | Buyer Verification | Procurement Consideration |
| Seat construction | Fixed-back or reclining design | Determines the appropriate mounting arrangement and adjustment functions. |
| External dimensions | Width, depth, and height in millimeters | Confirms physical clearance within the intended cockpit. |
| Mounting interface | Side mount, bottom mount, or dedicated base | Identifies compatible brackets and adapters. |
| Adjustment system | Slider availability and recline range | Helps accommodate different drivers and seating preferences. |
| Materials and upholstery | Seat shell, frame, foam, and cover options | Supports product positioning, appearance requirements, and usage expectations. |
| Packaging dimensions | Carton size and gross weight | Helps estimate storage requirements and shipping costs. |
Exact dimensions, load ratings, mounting patterns, and adjustment ranges vary by model. Buyers should request confirmed specifications rather than assume that all seats in the same product category share identical measurements.
Custom simulator projects often involve more than matching an existing seat to a frame. Product developers may also need to coordinate upholstery, colors, logos, packaging, and compatibility with a particular cockpit series.
As a racing seat and simulator manufacturer, JIABEIR supports OEM and ODM cooperation for customers developing product ranges for different markets. Early communication helps align the seat design with the intended equipment structure and purchasing requirements.
These details allow our team to assess the proposed configuration and clarify which specifications can be accommodated. Custom tooling, structural changes, and special packaging may affect project cost and production scheduling, so requirements should be discussed before order confirmation.
Several avoidable issues can arise during simulator seat installation. A simple pre-purchase checklist can help reduce rework and prevent delays during assembly.
Simulator seats are designed for their intended applications, and a gaming or simulation installation should not automatically be treated as equivalent to a road-going or competition vehicle installation. Requirements for automotive safety systems and motorsport use must be evaluated separately.
A racing seat can fit a custom simulator rig successfully when its dimensions, mounting interface, cockpit clearance, and driving position work together. The key is to evaluate the complete installation rather than relying on appearance or a universal-fit claim.
At JIABEIR, we believe clear specifications and early communication make simulator product development easier for both individual buyers and commercial customers. Whether you are upgrading a home racing setup, assembling equipment for a gaming venue, or sourcing seats for an OEM project, prepare your cockpit measurements and mounting requirements before confirming your order.
Need help matching a seat to your simulator frame? Contact JIABEIR with your cockpit dimensions, mounting-hole layout, preferred seat style, and customization requirements. Our team can discuss suitable product options and help clarify the specifications needed for your project.
Hot Products

If you are interested in our products, please consult us!
contact us
E-mail: [email protected]
Tel: +86-577 6681 1072+86-577 6556 8920
WeChat / WhatsApp: +86-139 5884 2868
Add: Jiangnan Avenue Economic Development Zone, Nanbin Street, Ruian, zhejiang, China.
Copyright © by Ruian JIABEIR Auto Parts Co., Ltd. Rights Reserved.
Car Seats Manufacturer & Custom Modified Car Seats


 English
 русский
 Español
 Português